Connect to Cloud
Connect your local Auto-Coder instance to the cloud and control your projects remotely via a web browser.
Connect to Cloud
Auto-Coder.Chat supports connecting your locally running instance to the cloud. Once connected, you can remotely control your local projects from any device's browser, enabling coding from anywhere.
How It Works
The cloud connection process is straightforward:
- Register an account at auto-coder.chat
- Generate a Cloud API Key
- Connect to the cloud using the
/connectcommand in your local terminal - Manage and control connected instances from the web interface
Step 1: Generate a Cloud API Key
After logging into auto-coder.chat, navigate to the My API Keys page. Enter an optional name and click Create Key to generate a Cloud API Key.
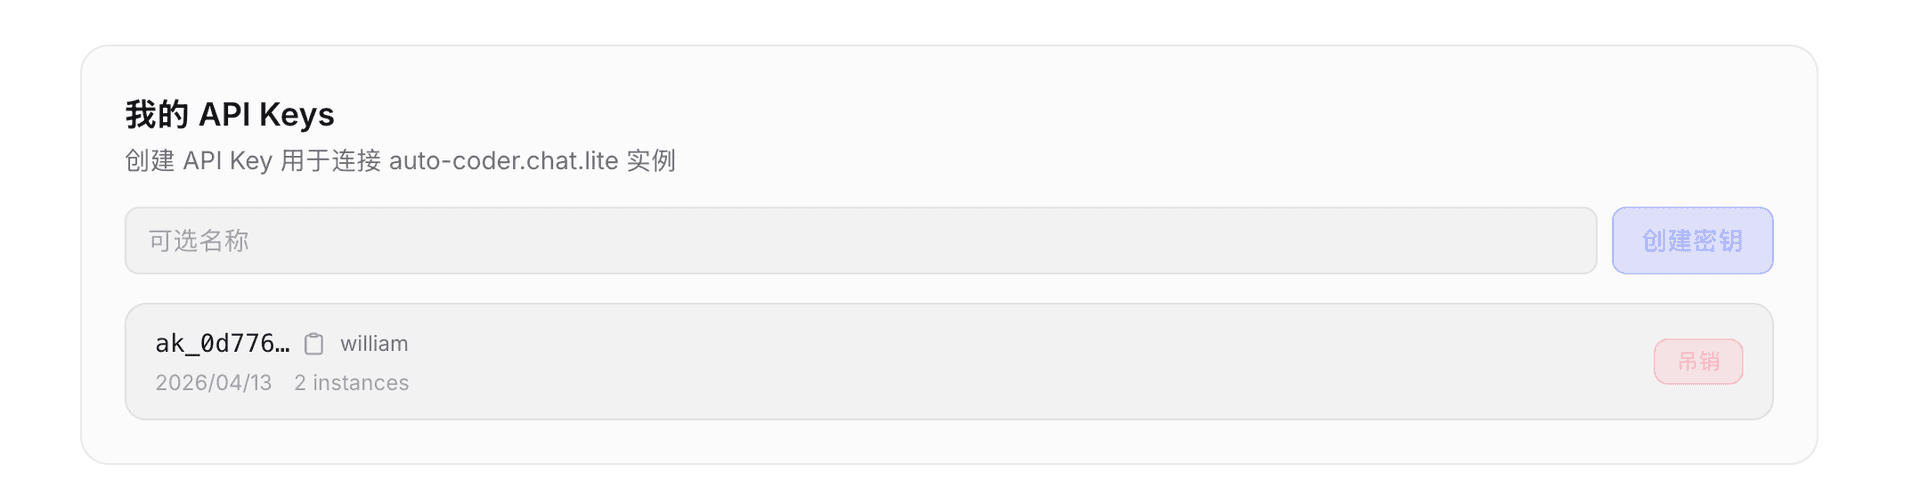
Save the generated API Key (formatted as ak_xxxx) — you'll need it for the connection step.
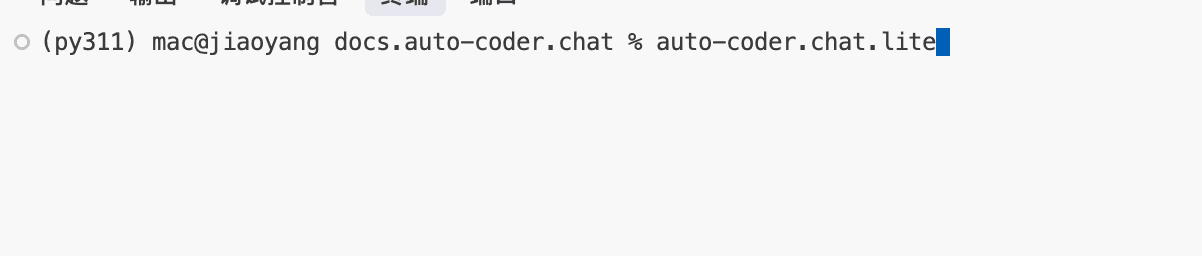
Step 2: Start auto-coder.chat.lite
Open a terminal in your project directory and start auto-coder.chat.lite:
auto-coder.chat.lite
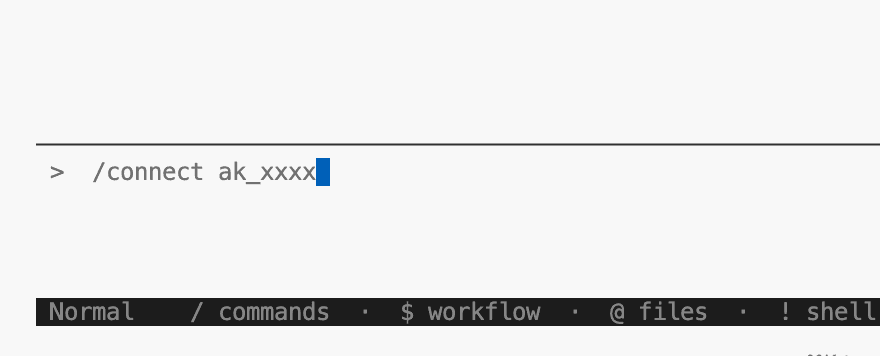
Step 3: Run the Connect Command
In the terminal where auto-coder.chat.lite is running, enter the following command to connect to the cloud:
/connect ak_xxxx
Replace ak_xxxx with the Cloud API Key you generated in Step 1.
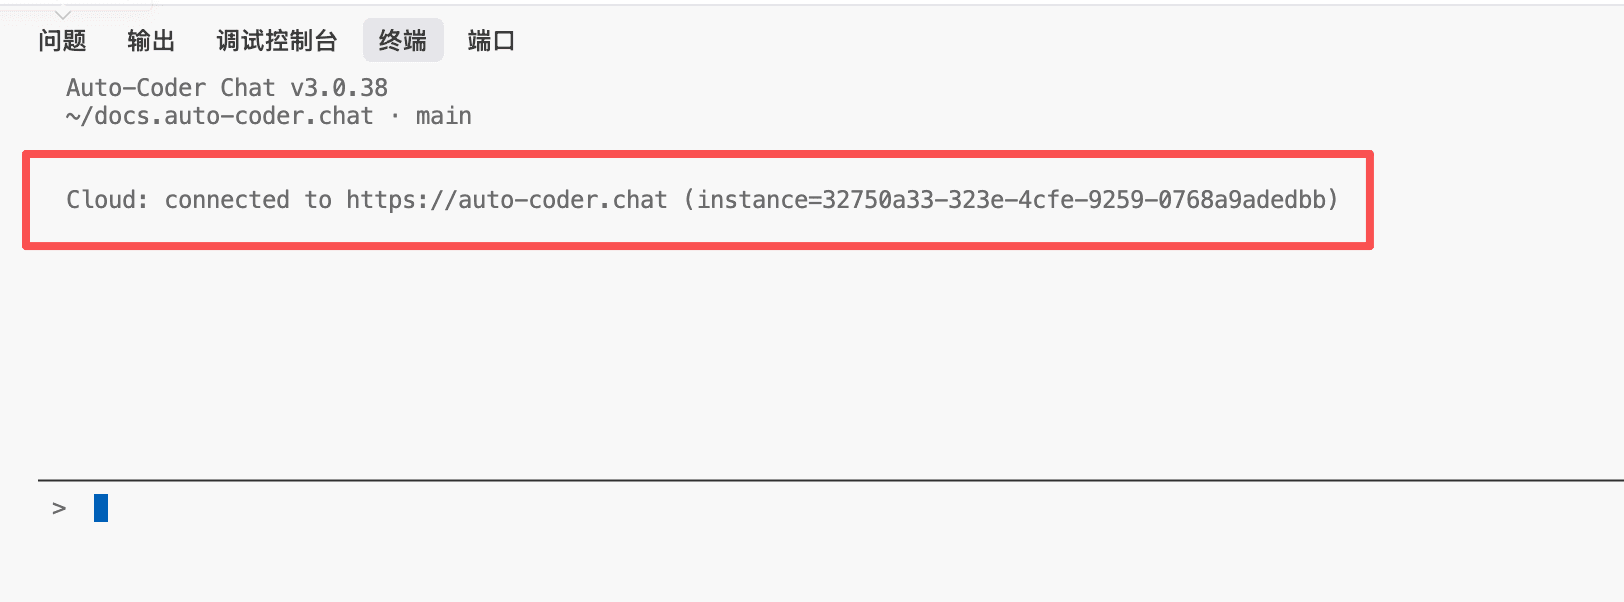
Once connected successfully, the terminal will display a confirmation message with your instance ID:
Step 4: Manage Instances from the Web
After connecting, go to the My Instances page on auto-coder.chat to see all your connected local instances and their online status.
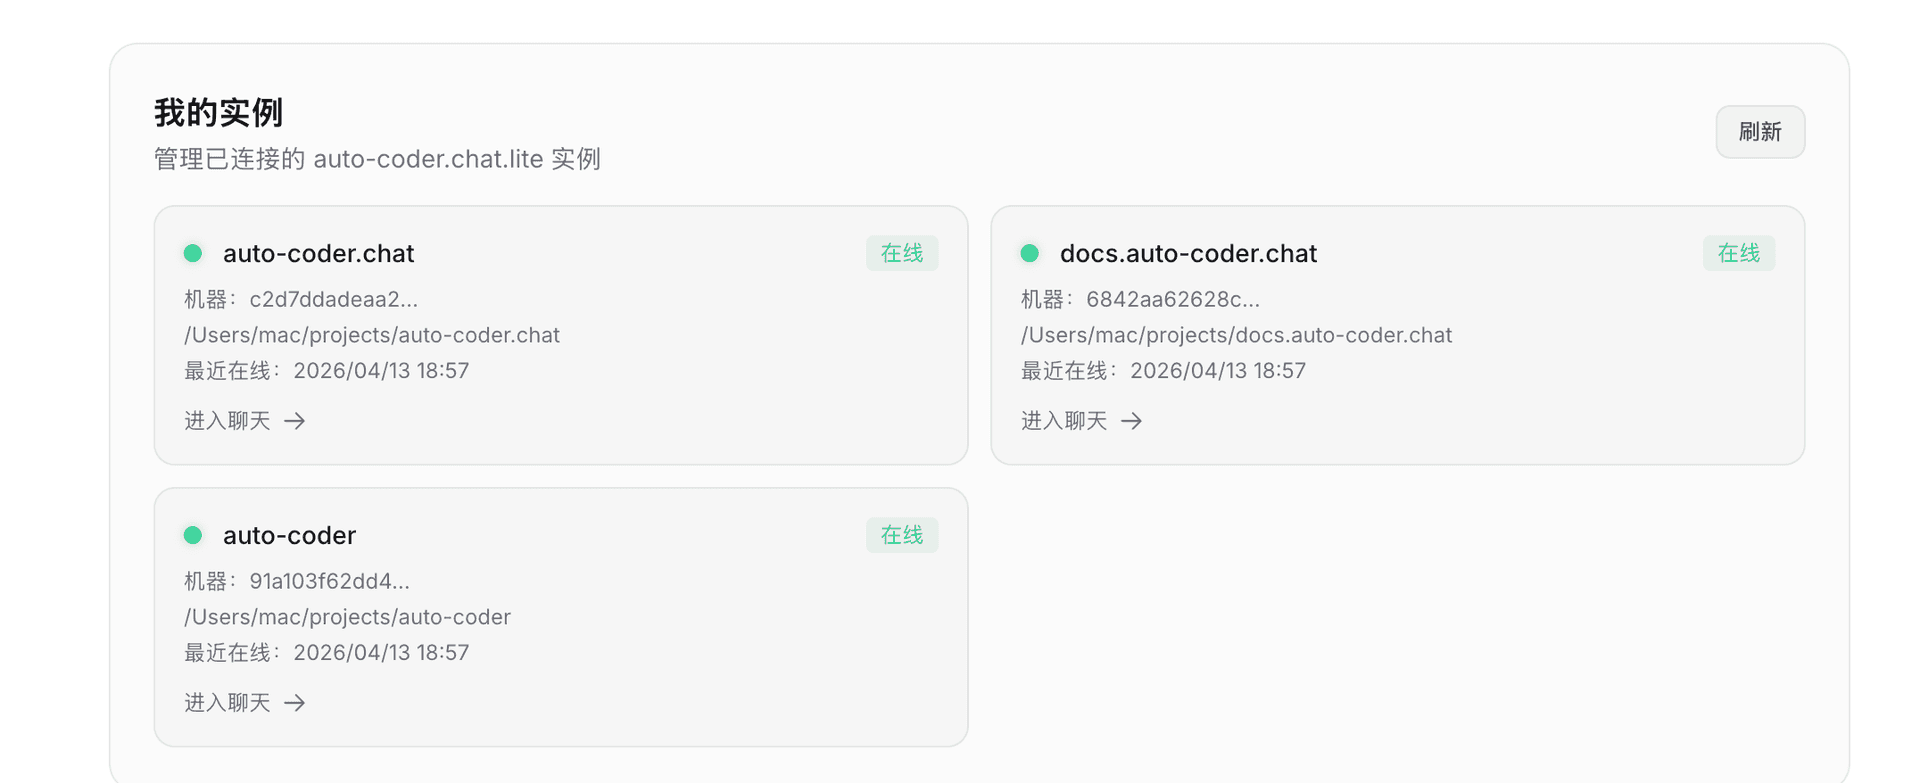
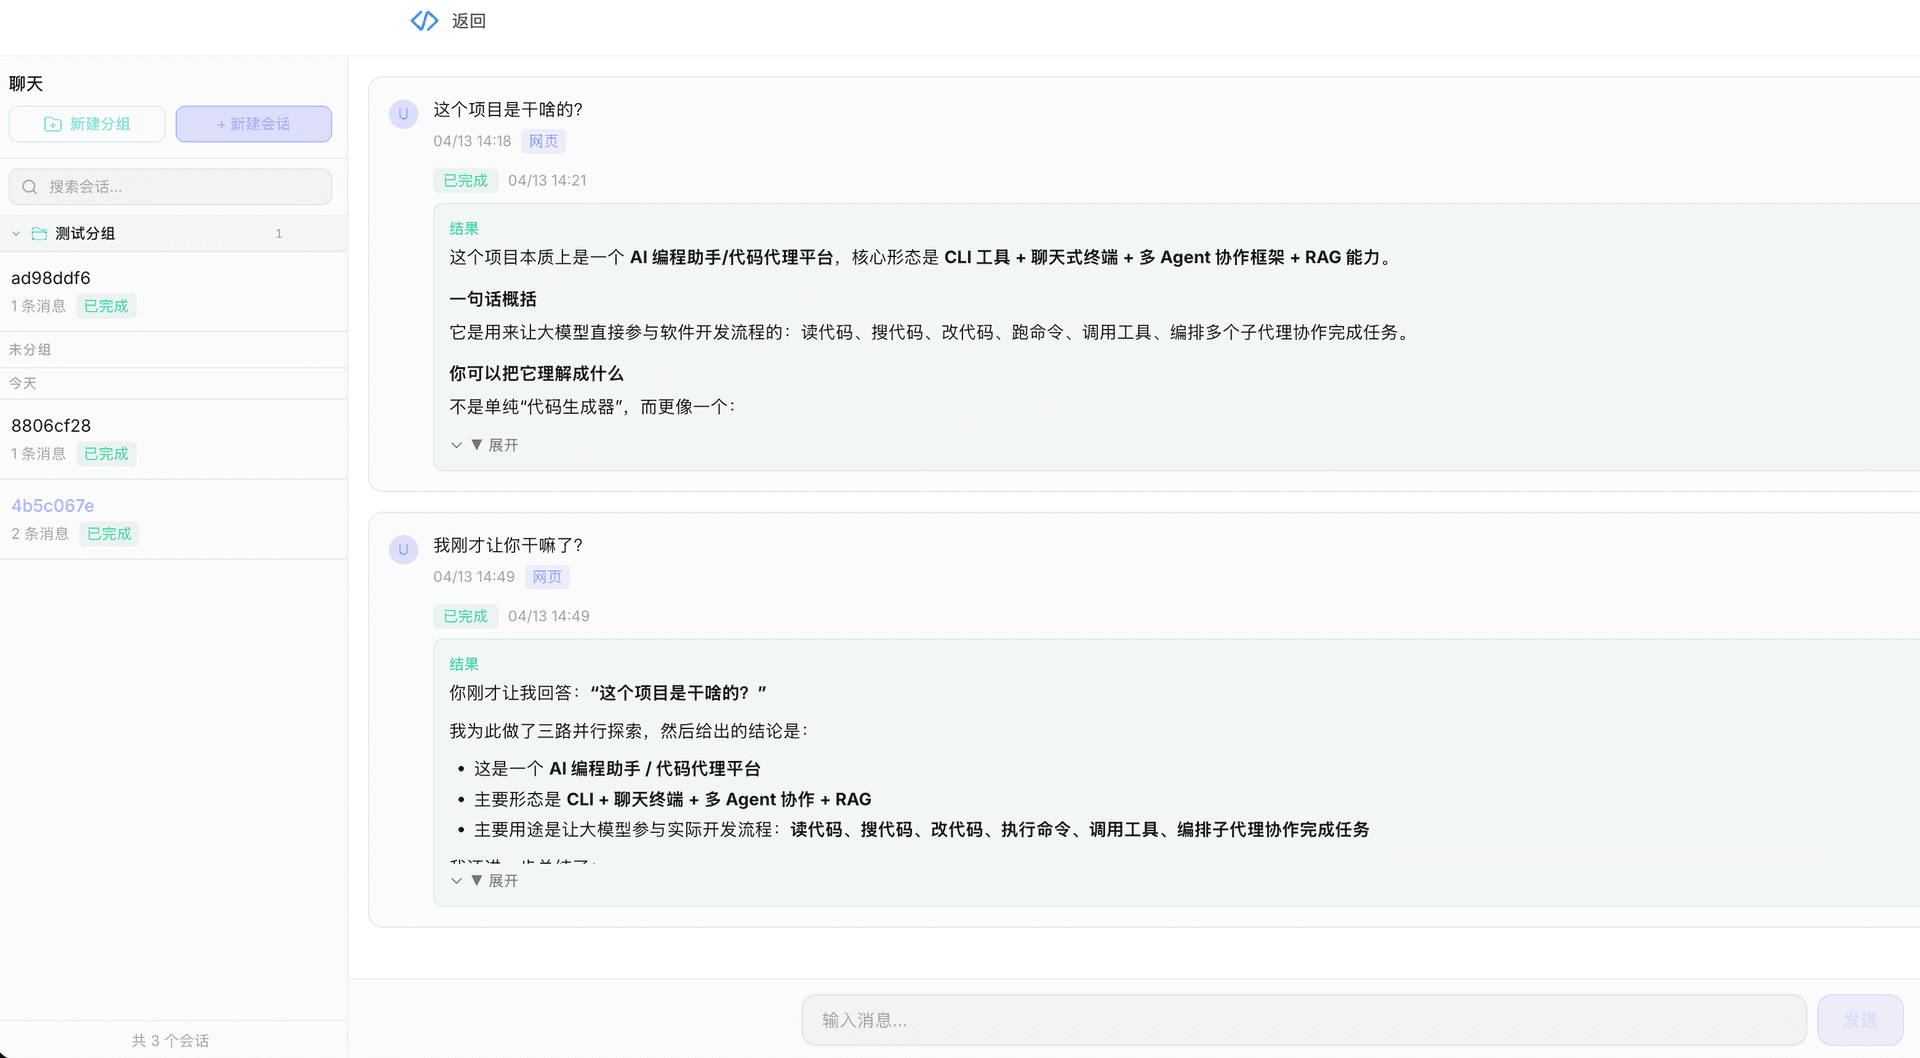
Click Enter Chat to interact with your local Auto-Coder instance directly from the browser, just as you would from the local terminal.
Use Cases
- Remote Work: Start an instance on your office computer, continue working from home via the browser
- Multi-device Access: Access the same project from your phone, tablet, or any computer
- Team Collaboration: Share instances with team members and view project status in real time
Next Steps
After connecting to the cloud, visit Basic Usage to learn more, or head to Configuration for advanced setup.